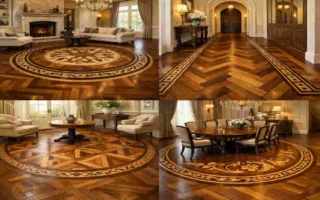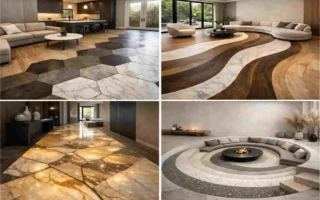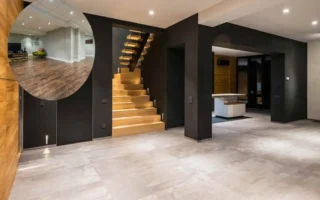
If you want a floor that looks stylish, smooth, and modern, learning how to do a marble epoxy floor can be a great project to explore. A marble epoxy floor gives you the rich look of marble without the high cost and heavy maintenance of real stone.
What Is a Marble Epoxy Floor?

A marble epoxy floor is a decorative floor coating made from epoxy resin and hardener. When mixed and applied correctly, it creates a smooth surface with soft colour movement that resembles natural marble.
Marble Epoxy vs Real Marble
Real marble is a natural stone. It is beautiful, but it is also expensive, heavy, and more demanding to maintain.
Marble-effect epoxy, on the other hand, is a coated floor system. It gives you the look of marble with more flexibility and easier care. It is also seamless, which means fewer places for dirt and moisture to collect.
Why People Choose It
A marble epoxy floor is popular because it is:
- Durable and long-lasting
- Water and stain resistant
- Easy to clean
- Customizable in colour and design
- Seamless and modern-looking
Best Places to Use It
This type of floor works well in:
- Garages
- Basements
- Kitchens
- Bathrooms
- Commercial spaces
If you want a surface that looks elegant but still handles daily use, this is a strong option.
Tools and Materials You Need
Before you begin, gather everything first. Having the right marble epoxy floor materials and epoxy flooring tools makes the job much easier.
Main Materials
You will usually need:
- Epoxy resin and hardener
- Epoxy primer
- Marble-effect pigments
- Clear topcoat
- Mixing buckets and sticks
- Measuring tools
Main Tools
You may also need:
- Paint rollers
- Squeegee
- Paint brushes for edges
- Floor scraper
- Sandpaper or floor grinder
- Protective gloves and goggles
- Spiked shoes if recommended by the product
- Ventilation equipment
Why the Right Supplies Matter
Do not guess when it comes to products. Epoxy systems work best when the primer, base coat, pigment, and topcoat are all compatible. Using the wrong combination can weaken the finish or change how the floor cures.
How to Prepare the Floor Before Applying Epoxy
Preparation is the most important part of the project. A beautiful finish starts with a clean, solid surface. If you skip prep, even the best epoxy may fail.
Clean and Inspect the Surface
Start by removing:
- Dirt
- Dust
- Grease
- Old paint or coatings
Then inspect the floor for cracks, holes, or weak areas. The surface should be structurally sound before you continue. If there is serious damage, fix it first.
Grind or Roughen the Floor
Epoxy sticks better to a surface that has a little texture. If the floor is too smooth or shiny, the coating may not bond well.
Use a grinder or sanding method to remove glossy areas. After that, vacuum all dust carefully. A clean surface gives the epoxy a better grip.
Check Moisture and Conditions
Moisture is one of the biggest reasons epoxy floors fail. If the concrete is damp, the coating may bubble, peel, or turn cloudy.
Also check the room temperature and humidity. Always follow the product instructions, because every system has its own ideal working conditions.
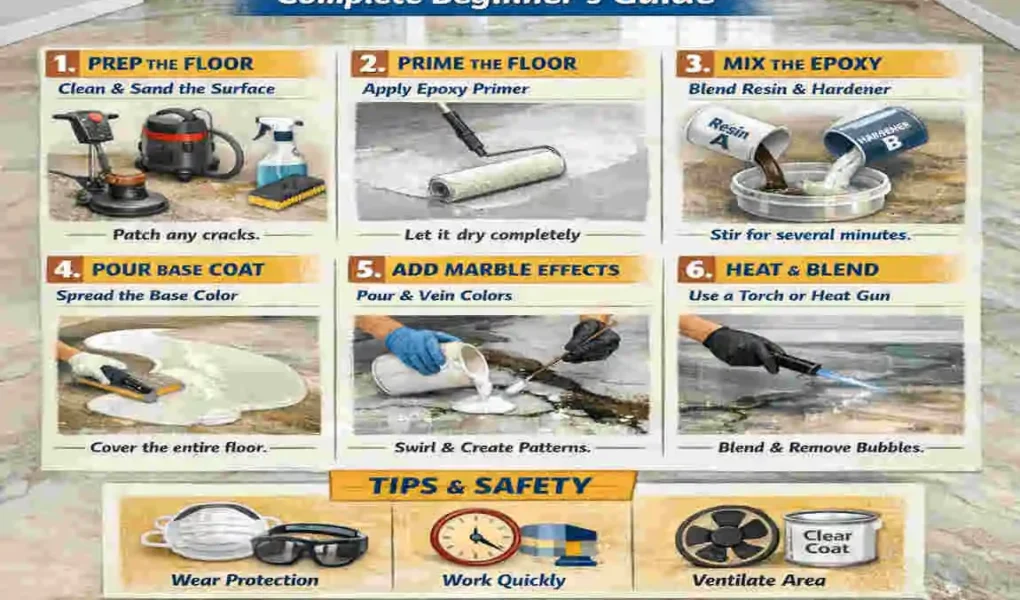
How to Do Marble Epoxy Floor: Step-by-Step Process
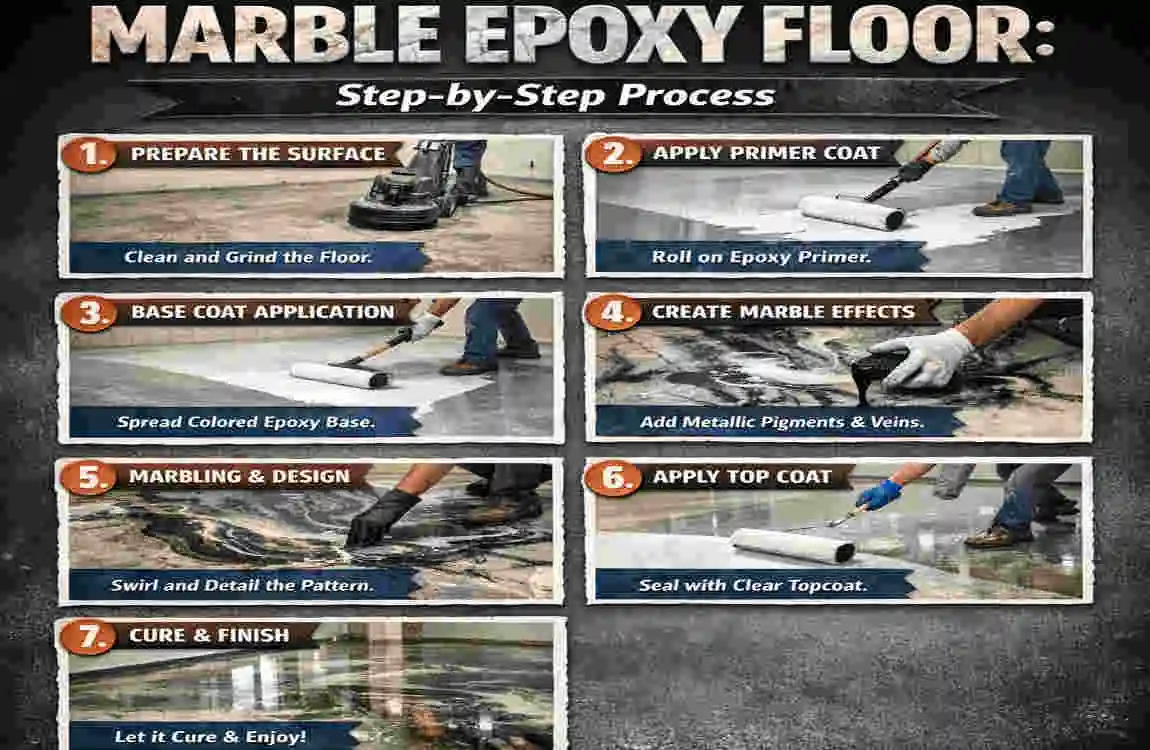
This is the main part of the project. Take your time and work in small sections so the finish stays smooth and natural.
Apply the Primer
Mix the epoxy primer exactly as directed. Then apply it evenly across the floor.
The primer helps the base coat bond better and gives you a stronger final result. Let it dry within the recommended recoat window.
Prepare the Base Coat
Now mix the epoxy resin and hardener in the correct ratio. This is very important. If the mix is off, the floor may not cure properly.
Apply the base coat evenly with a roller or squeegee. Try to keep the layer consistent across the whole floor.
Create the Marble Effect
This is where the floor starts to look decorative.
Use your marble-effect pigments carefully. Do not cover the floor with too many colours. A marble look works best when the tones are blended softly and naturally.
You can create movement by:
- Pouring colours in sections
- Using light blending
- Leaving some areas more open than others
The goal is to make it look like real stone, not a painted pattern.
Add Marble Veins
Veins are the thin lines that give marble its natural look. You can create them using a contrasting pigment or metallic colour.
Use a brush or spreader to draw soft vein lines. Avoid making them too bold or too even. Real marble is not perfect, so the pattern should feel organic.
Remove Bubbles and Smooth the Surface
After applying the coating, look for bubbles or rough spots. Use the method recommended by your epoxy system to remove them.
Also check for dust, debris, or uneven areas. A smooth finish makes the final floor look more polished and professional.
How Long Does a Marble Epoxy Floor Take to Cure?
Curing takes time, and it is not the same as just feeling dry on the surface.
Drying vs. Curing
- Drying means the floor no longer feels wet
- Curing means the coating is hardening fully
- Full hardness means the floor is ready for normal use
Typical Stages
The exact times depend on the product, but the process usually includes:
- Initial set
- Light foot traffic
- Normal use
- Full cure
Do not rush this part. Walking on the floor too early can leave marks or damage the marble pattern.
Always follow the manufacturer’s instructions rather than guessing a timeline.
Common DIY Marble Epoxy Floor Mistakes to Avoid
Many beginner problems stem from simple mistakes. If you avoid these, your project has a much better chance of success.
Mistakes to Watch For
- Skipping floor preparation
- Applying epoxy over damp concrete
- Mixing resin and hardener in the wrong ratio
- Stirring too fast and creating bubbles
- Using the wrong topcoat
- Adding too many colours
- Overworking the marble pattern
- Ignoring temperature and humidity
- Walking on the floor too soon
- Using incompatible products
- Forgetting safety gear and ventilation
When to Hire a Professional
You may want professional help if:
- The concrete has serious moisture problems
- The floor has structural damage
- Old coatings are difficult to remove
- You are unsure about product compatibility
If the base floor is not in good shape, a professional can save you time and reduce the risk of failure.
Marble Epoxy Floor Cost, Maintenance
How Much Does a DIY Marble Epoxy Floor Cost?
The cost depends on several things:
- Floor size
- Product quality
- Primer and topcoat
- Pigments
- Surface prep
- Tools you already own
DIY projects usually cost less than professional installation, but the total cost still varies widely. There is no single price that works for every home.
How to Maintain a Marble Epoxy Floor
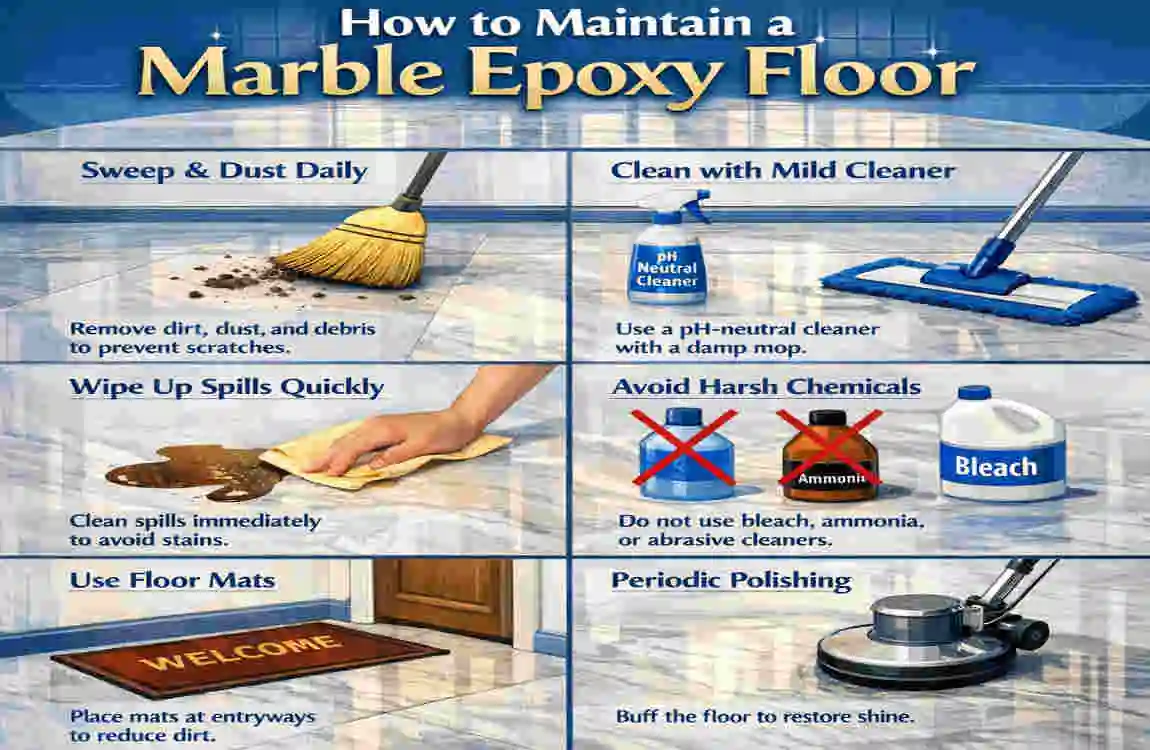
Maintenance is usually simple.
Use these basic habits:
- Sweep or vacuum regularly
- Clean spills quickly
- Use gentle cleaners recommended by the product maker
- Avoid harsh chemicals
- Use furniture pads
- Check the surface from time to time
A little care helps the floor stay glossy and attractive longer.
FAQ
Can a beginner install a marble epoxy floor?
Yes, but success depends on careful preparation, proper mixing, and close adherence to the instructions.
How thick should marble epoxy flooring be?
Thickness depends on the product system and how the floor will be used. Always follow the manufacturer’s directions.
Can you put marble epoxy over old tile?
Sometimes, yes. But the tile must be stable, clean, and suitable for the coating system.
How long does a marble epoxy floor last?
Its lifespan depends on the product, installation quality, traffic, and maintenance.
Is marble epoxy flooring waterproof?
It is highly water-resistant when installed properly, but the full floor system still matters.
Can marble epoxy floors be repaired?
Yes, small damage can sometimes be repaired. Larger problems may need recoating or professional help.
| Step | What to Do | Key Tip |
|---|---|---|
| Prepare the Floor | Clean, repair cracks, and remove grease or dust. | The surface must be dry and smooth. |
| Gather Materials | Get epoxy resin, hardener, primer, mixing buckets, roller, gloves, and marble-effect pigments. | Use products designed for flooring. |
| Apply Primer | Roll a suitable epoxy primer over the prepared floor. | Let it cure according to the product instructions. |
| Mix Epoxy | Combine resin and hardener in the correct ratio. | Mix slowly to reduce air bubbles. |
| Create Marble Design | Pour the base color, then add contrasting colors in flowing patterns. | Avoid overworking the design. |